
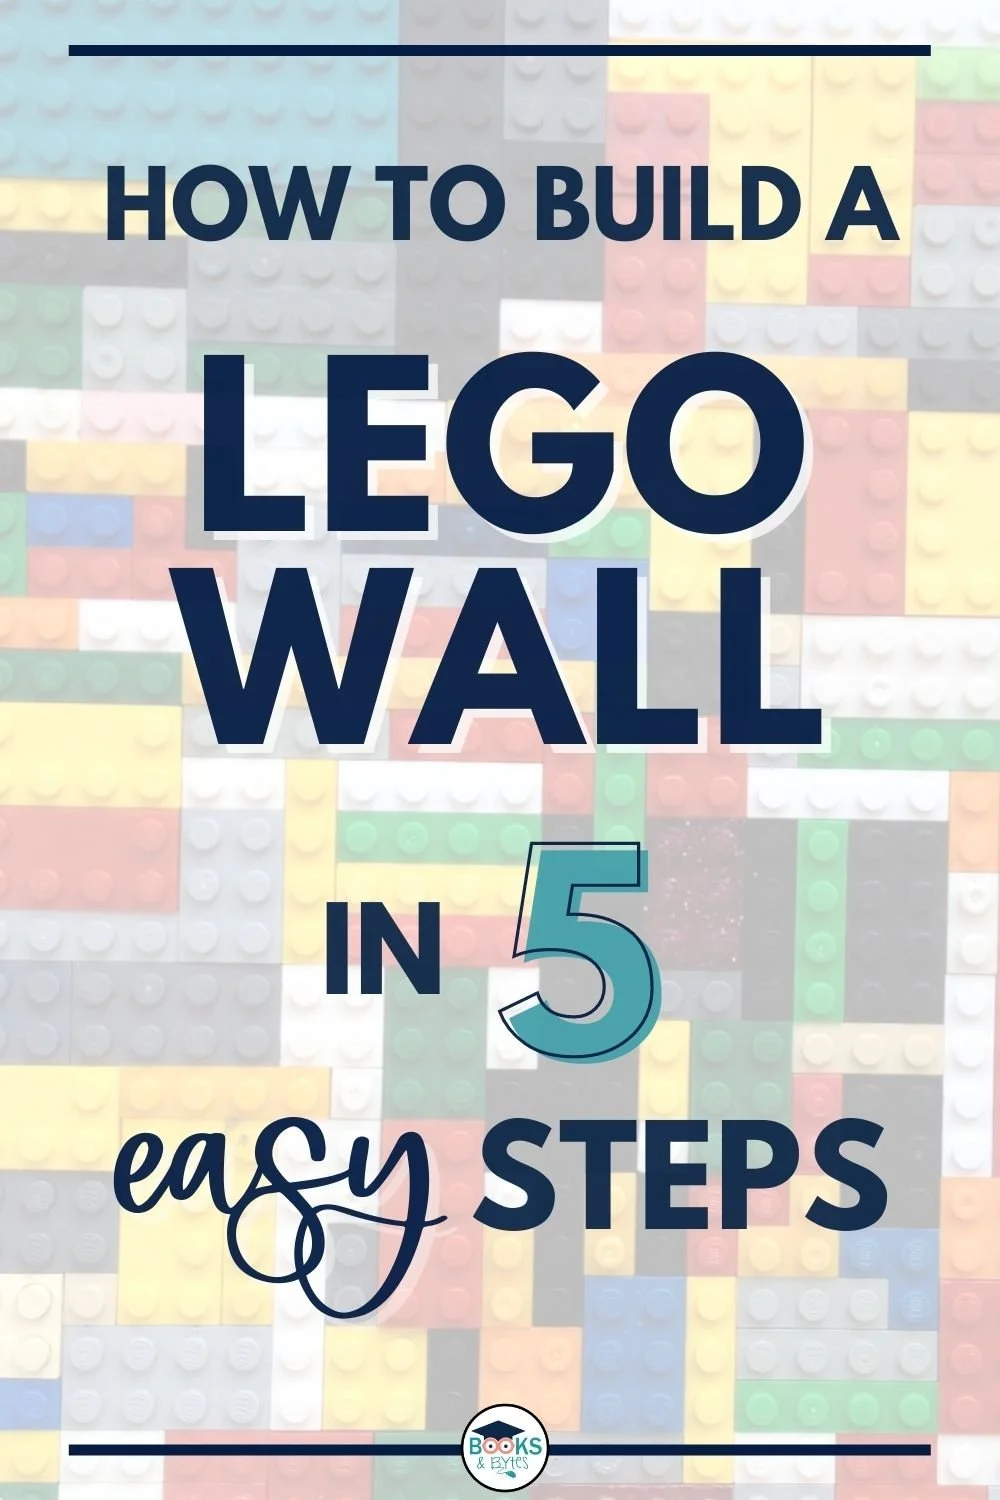
How to Build a Lego Wall in 5 Easy Steps!
Learn how to build an amazing Lego Wall for your home, classroom or library! Simple instructions to transform your space and get your kiddos building and creating…vertically!
I’m SO excited you want to build a Lego wall in your classroom, library, makerspace, or home!
I did a lot of research before building one in your Library Learning Commons, and I’ve summarized some {easy} steps for you to build an amazing wall of your own! I wanted to build a bigger one, but our space is all windows and shelves, so this space was our only option. If you look critically at your space, I’m sure you’ll find a great piece of real estate for building fun!
➡️Don’t have a “wall” to build on? You can build on the back of a cart, shelf, easel…any flat surface you have!
Before You Start Your Lego Wall

Find a space on your wall, and take some measurements of approximately where you want the Lego wall to be. Option 1: Take your measurements and divide them evenly by the width of a square Lego plate so you have full squares. Option 2: Utilize the whole length and width of your space, even if it doesn’t correspond evenly to the square plates. (more to follow on this)
Lego Wall Supplies
1 piece of 1/2” plywood to match your dimensions
Bolts that can go through your plywood and into your wall (mine was concrete blocks). We used 5 or 6 bolts, but it really depends on the size of your area.
Square Lego plates (number and size depends on the area you are covering) They are available from Scholastic Rewards, Amazon, Walmart and toy stores
Adhesive - something like this will work
Some spare Lego pieces to help align your wall while it dries
Steps to Build Your Lego Wall
Attach the plywood to the wall in your desired location using the bolts. (My wonderful custodians did this for me!)
Apply adhesive to the back of a Lego plate and place it in one of the corners of your area. I started in the bottom right corner.
Repeat step 2 for each square plate. After you stick each new plate on the plywood, secure the pieces together using pieces of Lego. This will ensure all plates stay perfectly spaced apart while everything dries. (See picture below)
If you are using “part” plates for your wall, before you apply adhesive, turn them over and score a line where you need it separated. Then gently bend the plate and it should snap party directly on the line!
Let everything dry for 24 hours.
Remove the spare Lego pieces from the seams between the plates.


Options:
Paint the face of the plywood the same colour as your Lego plates. I didn’t do this, but you can barely see the wood between the tiny seems.
Paint the edges of the plywood so you don’t see wood on the edges.
Attach Lego tape around the edge of your plywood to cover up the wood edges.
Build your Lego “wall” on the side of a wide bookshelf or cabinet

You can also build a Lego wall directly on a bulletin board, and then add a paper border to cover edges.
That’s it! It’s actually A LOT easier to put together than I thought it would be. Our Lego Wall is a focal point in our Library Learning Commons, and we get lots of positive comments from our guests! Do you have any additional tips for building a Lego Wall? If so, let us know below!
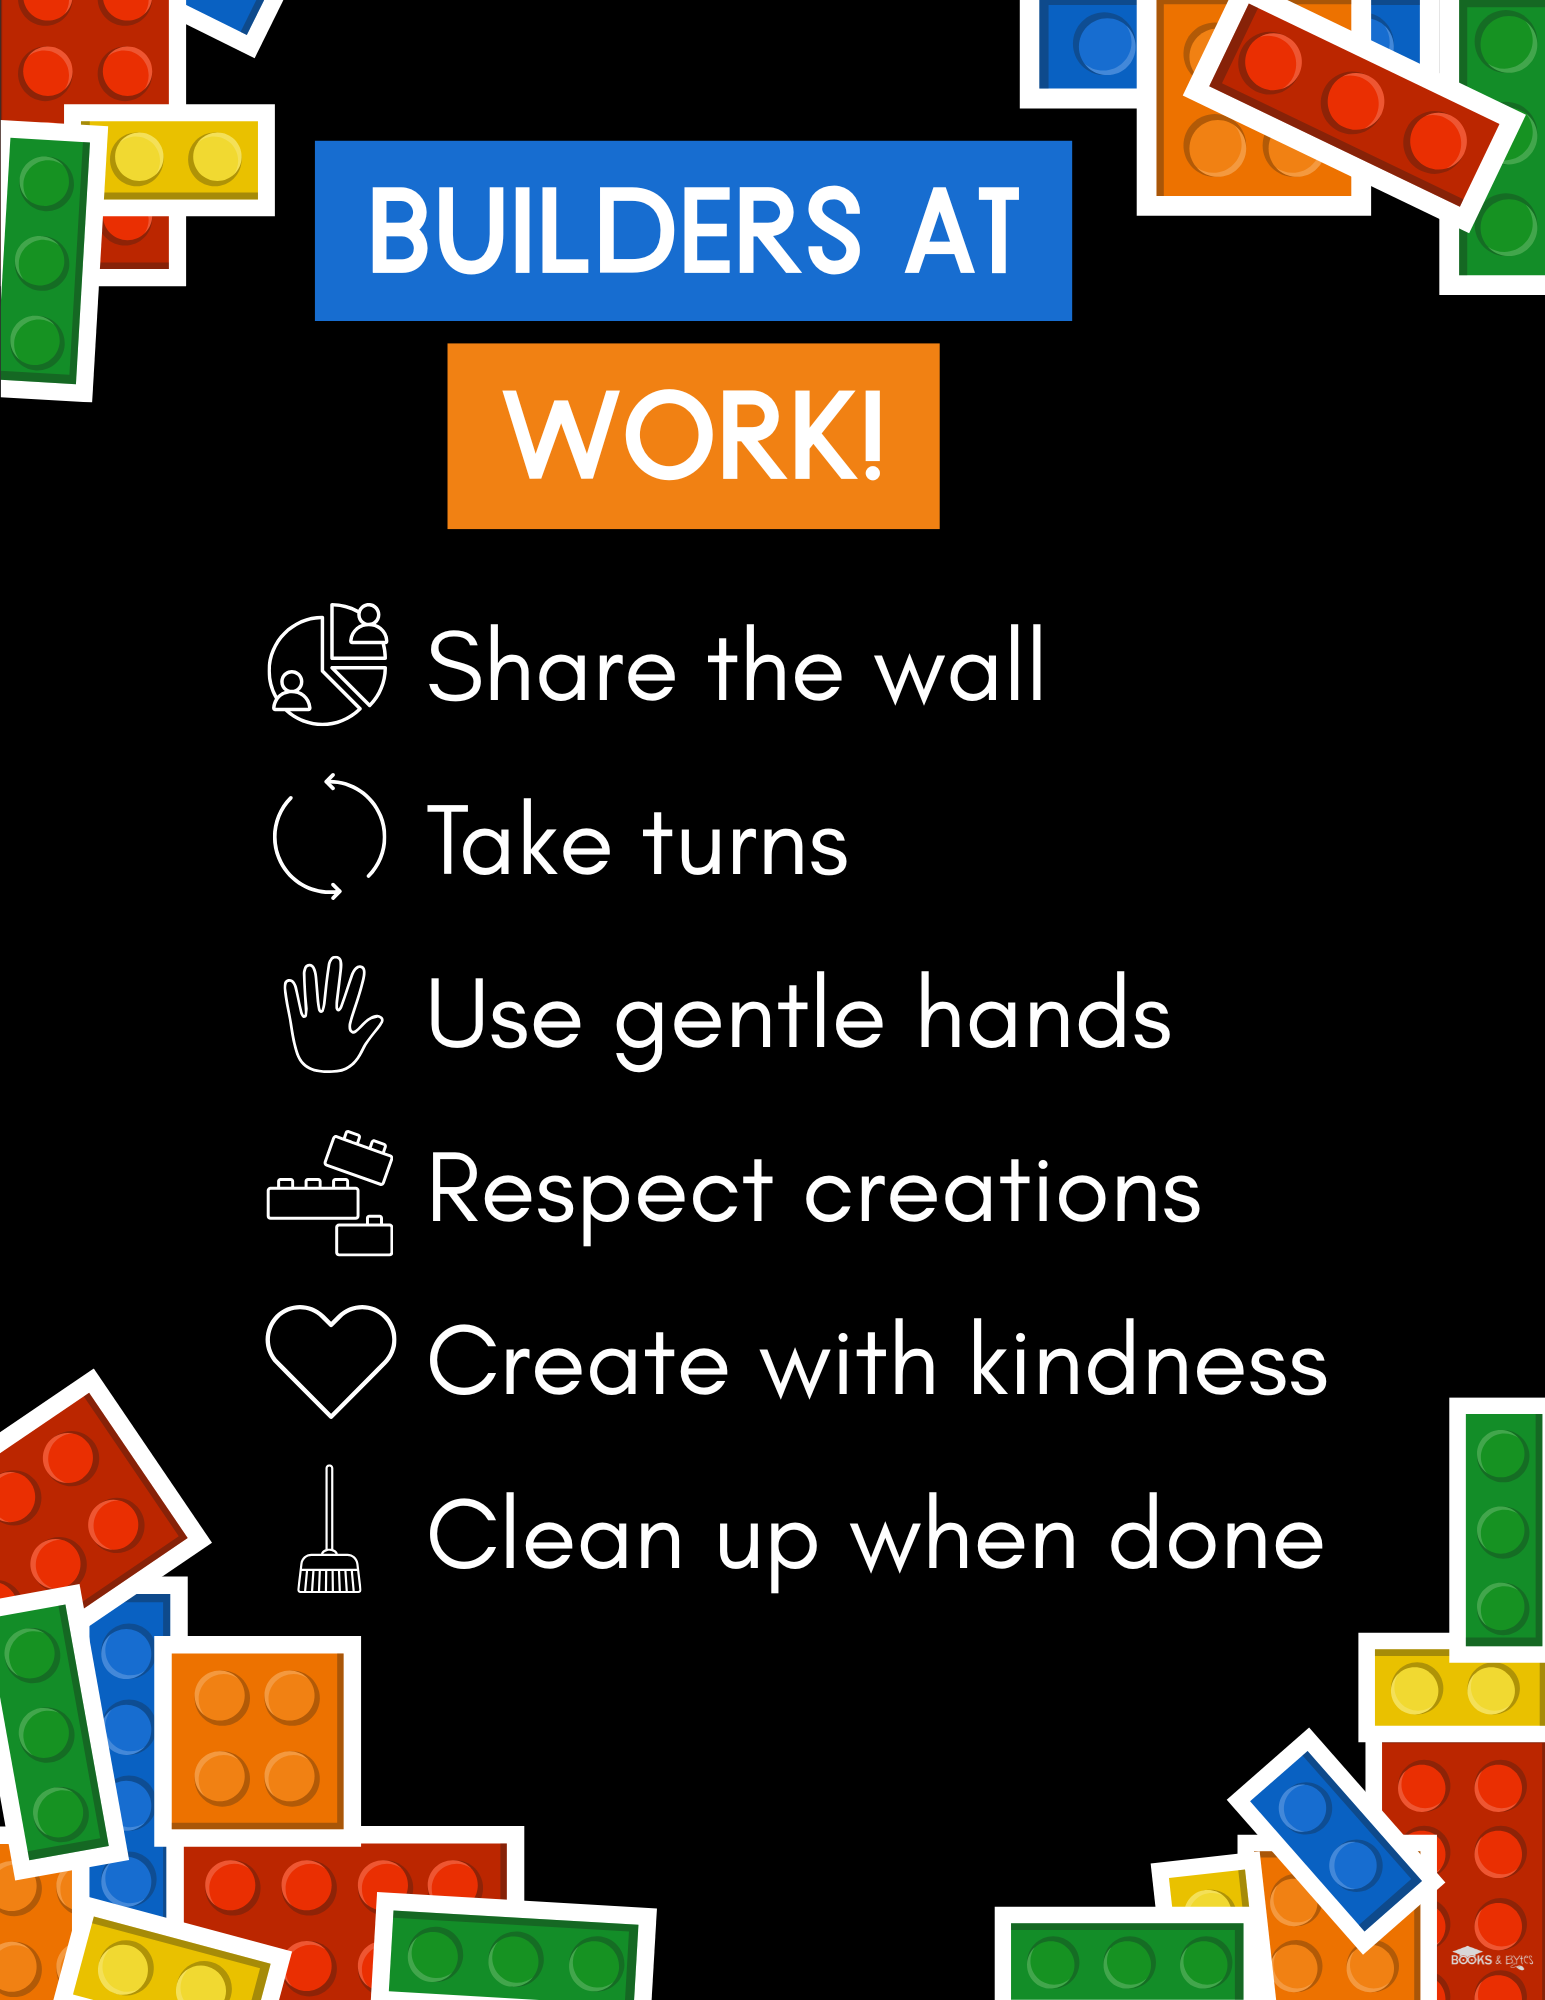
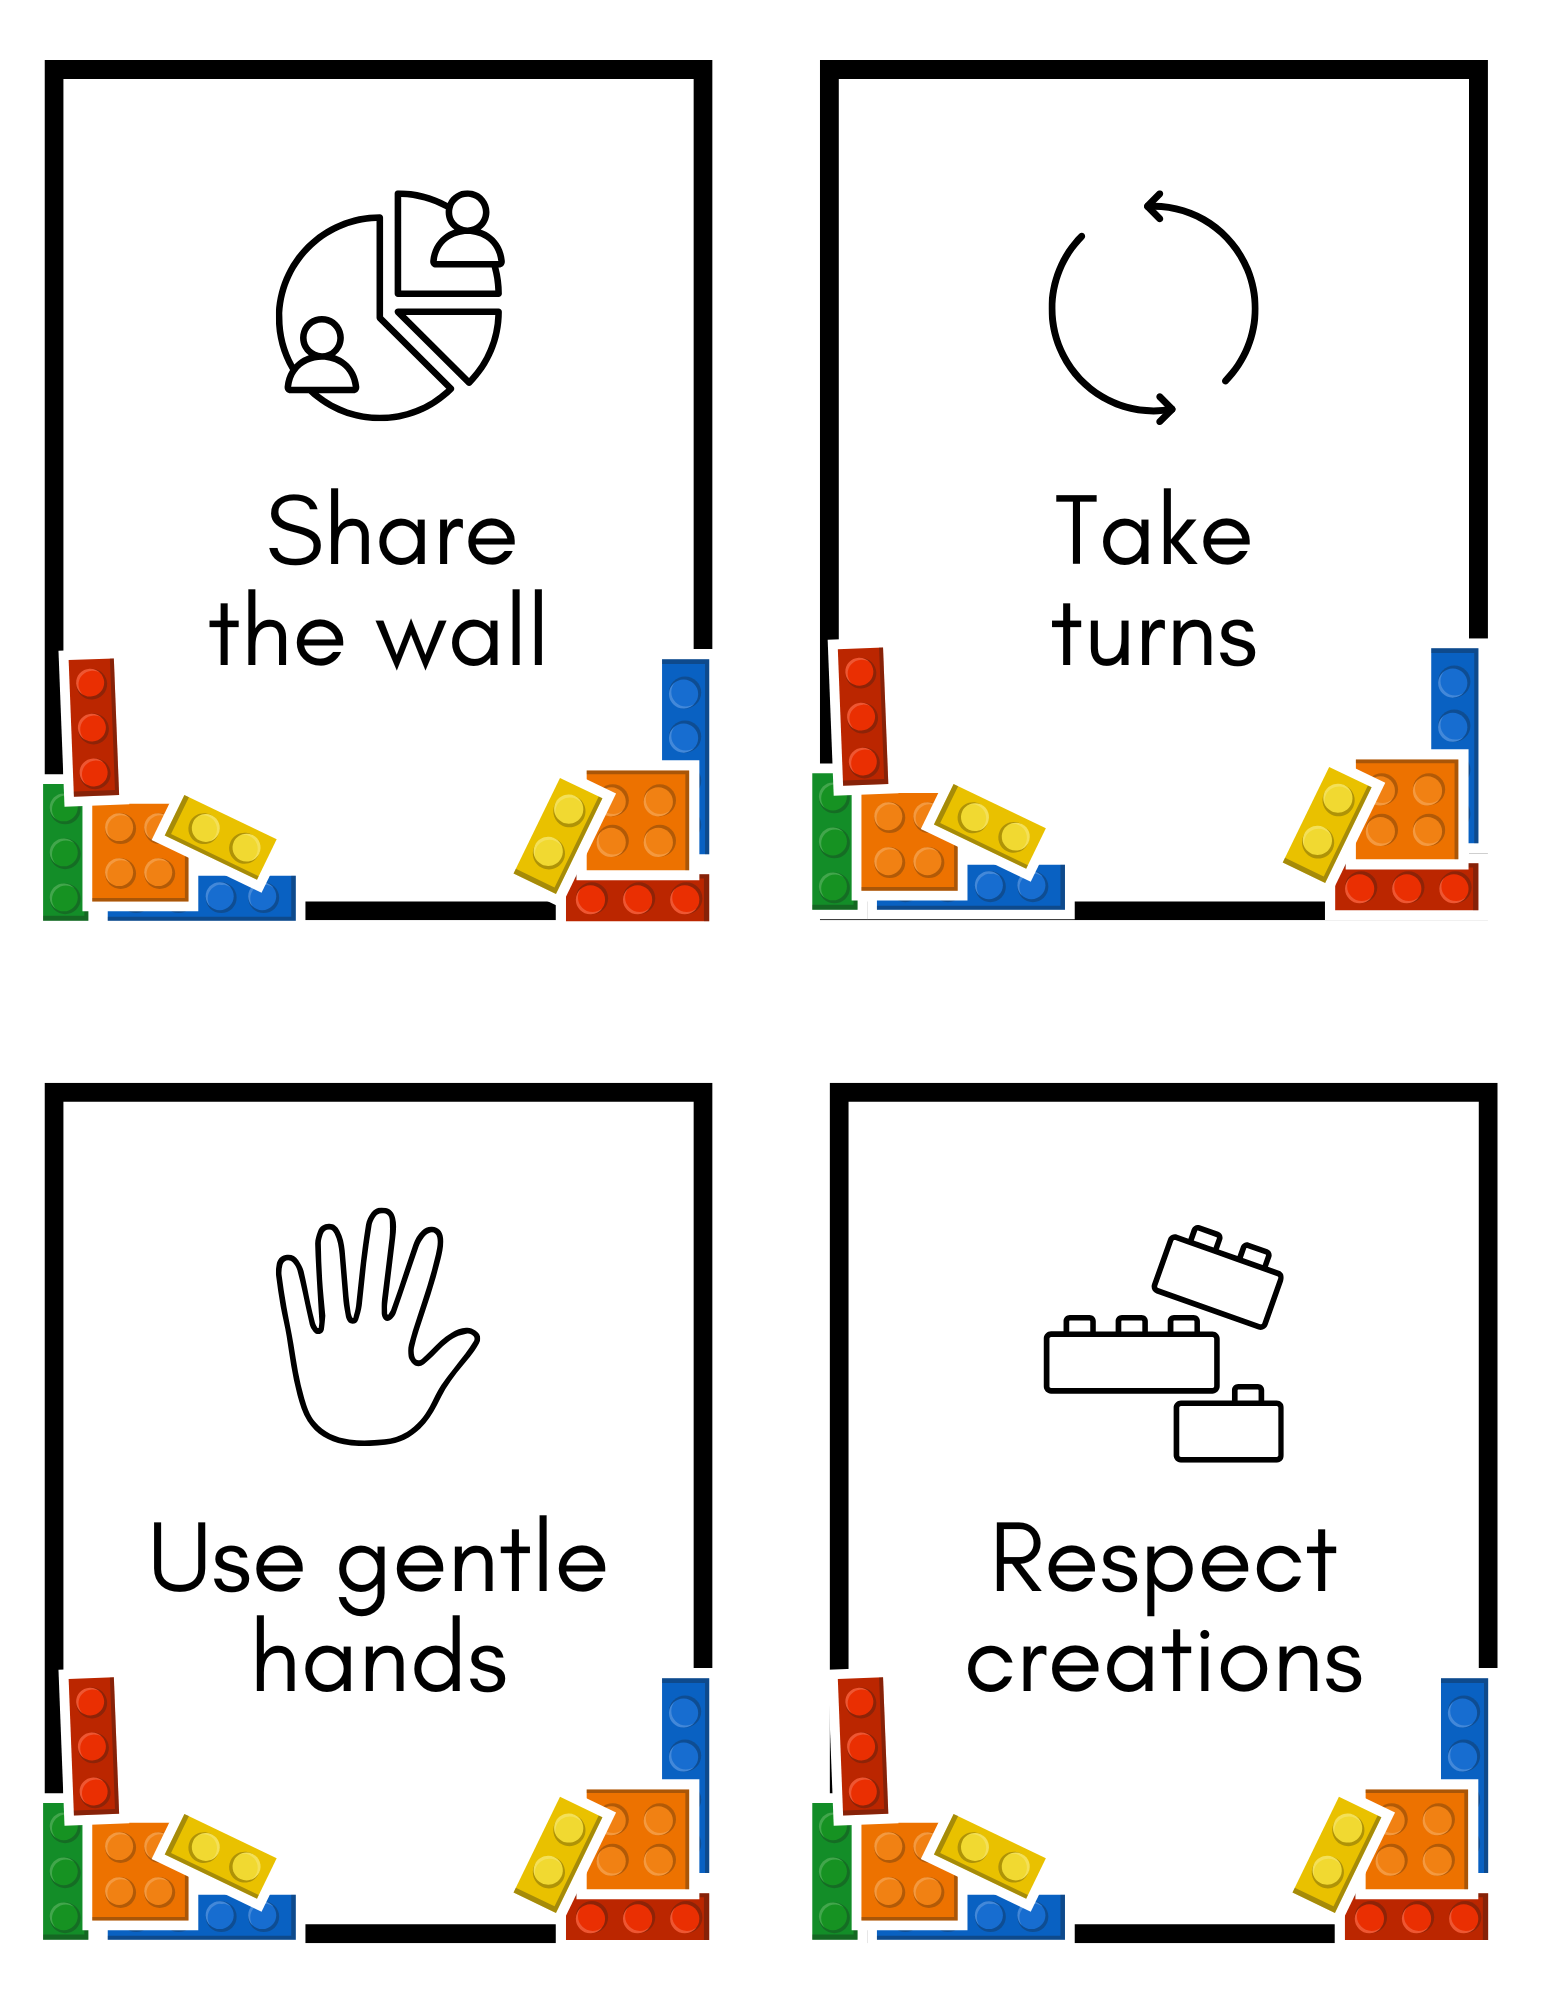
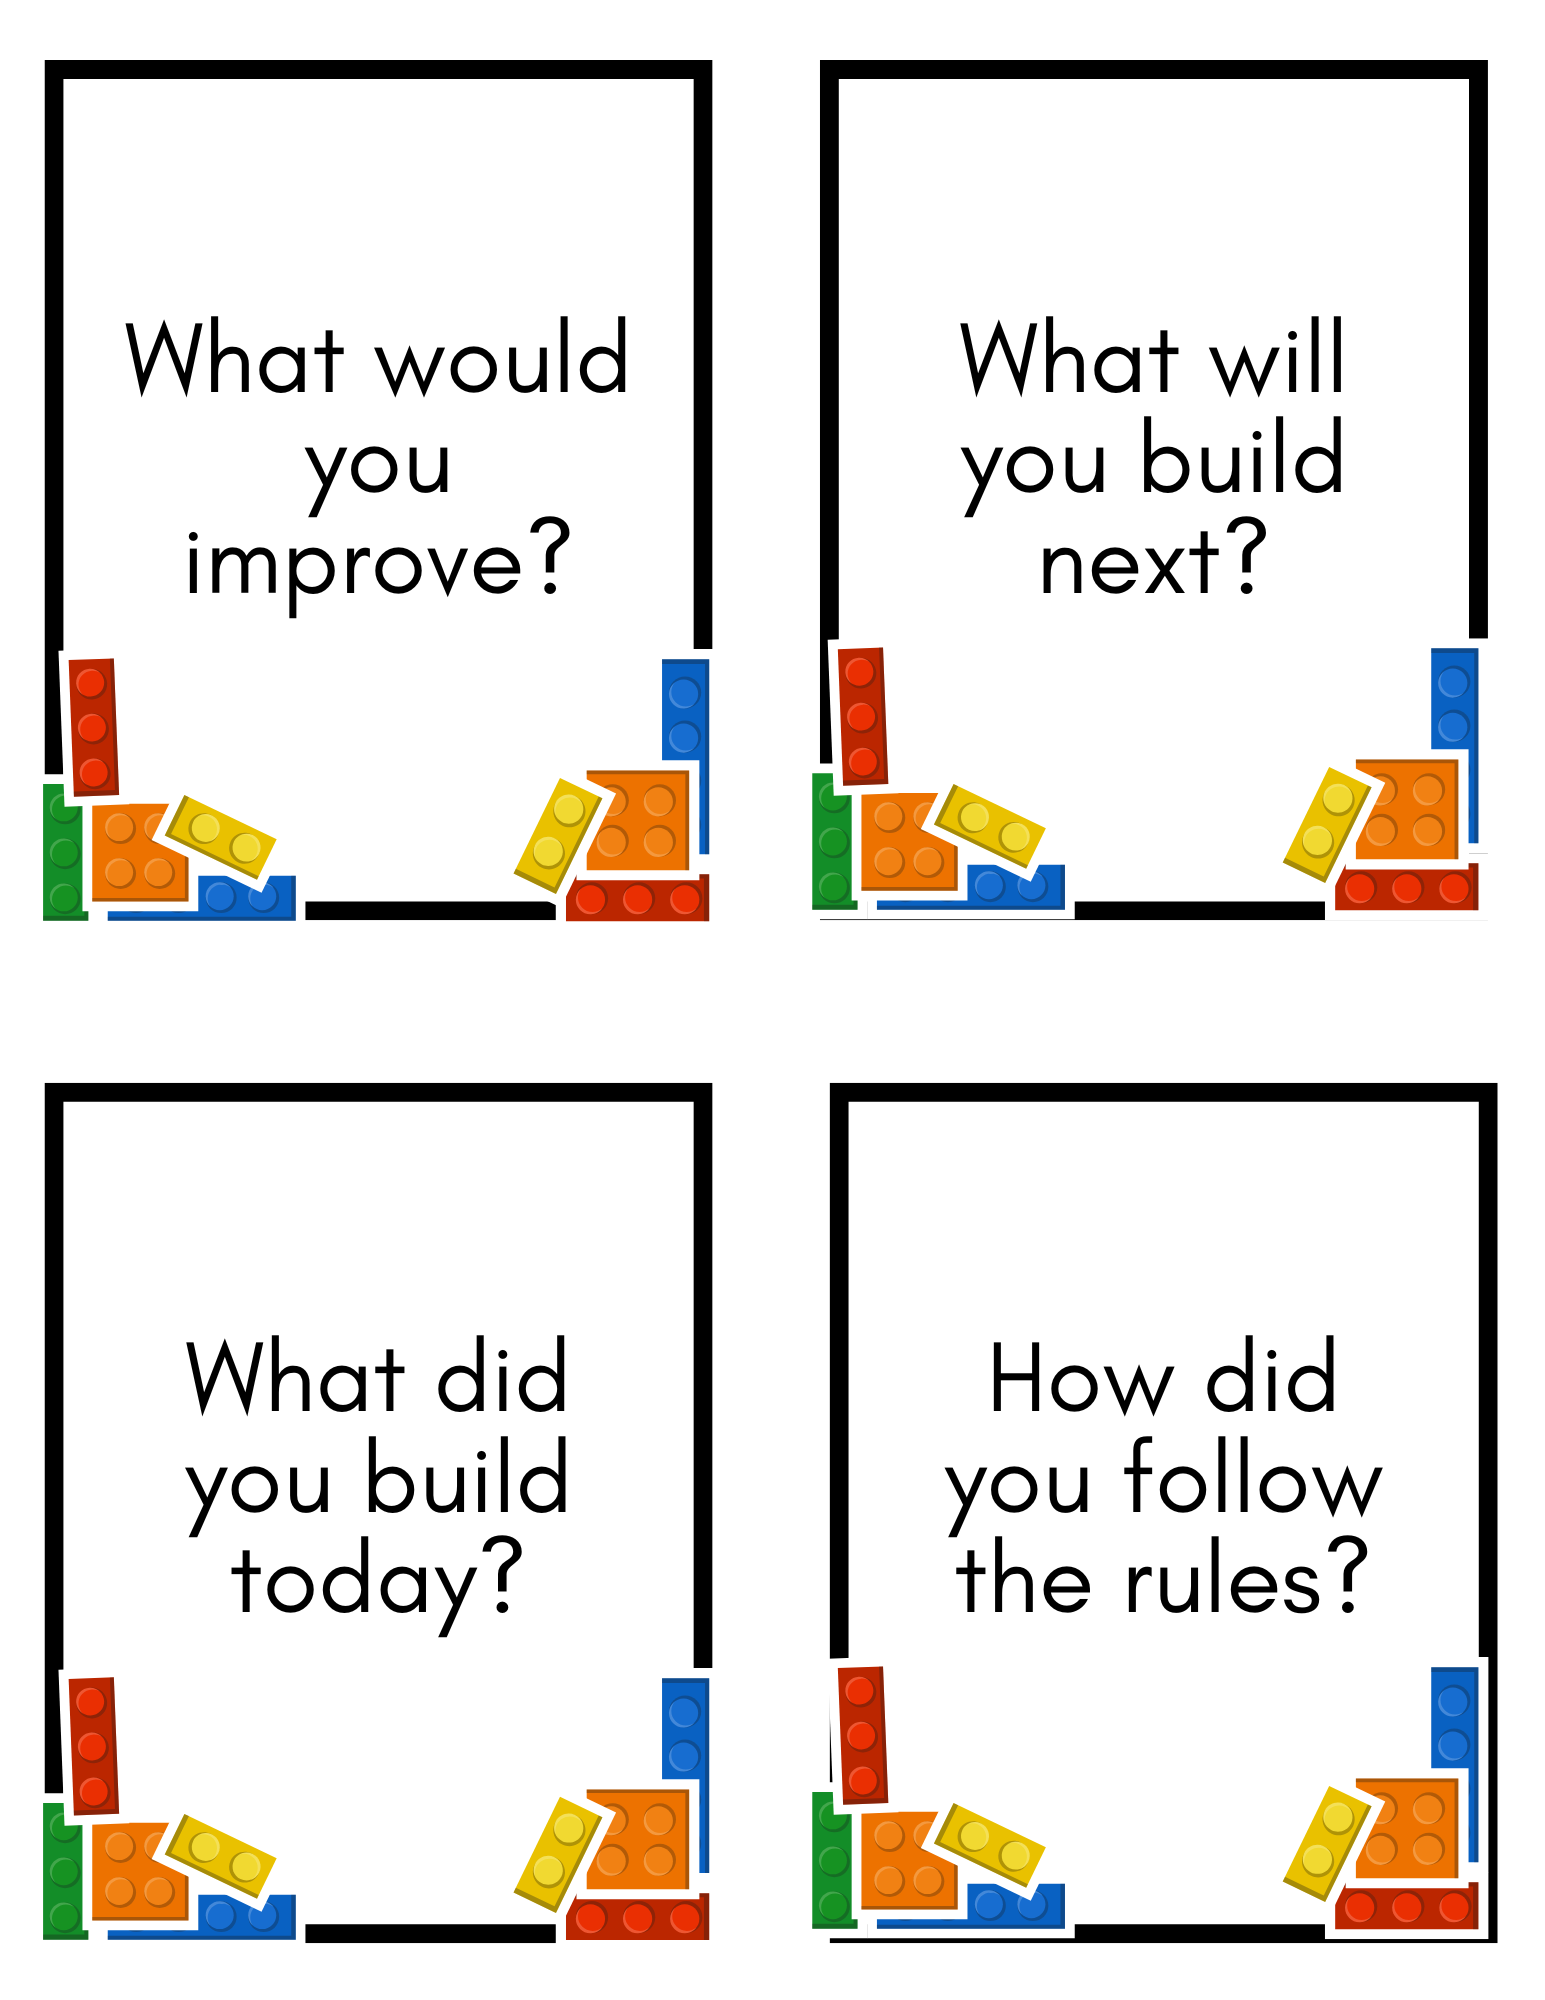
One of the best ways to make your building wall successful is by teaching expectations early. I created these Building Wall Rules & Expectations Posters + Cards to help students build responsibly, work together, and stay engaged during STEM time.
👉 You can grab the resource here if you want something simple and ready to use!
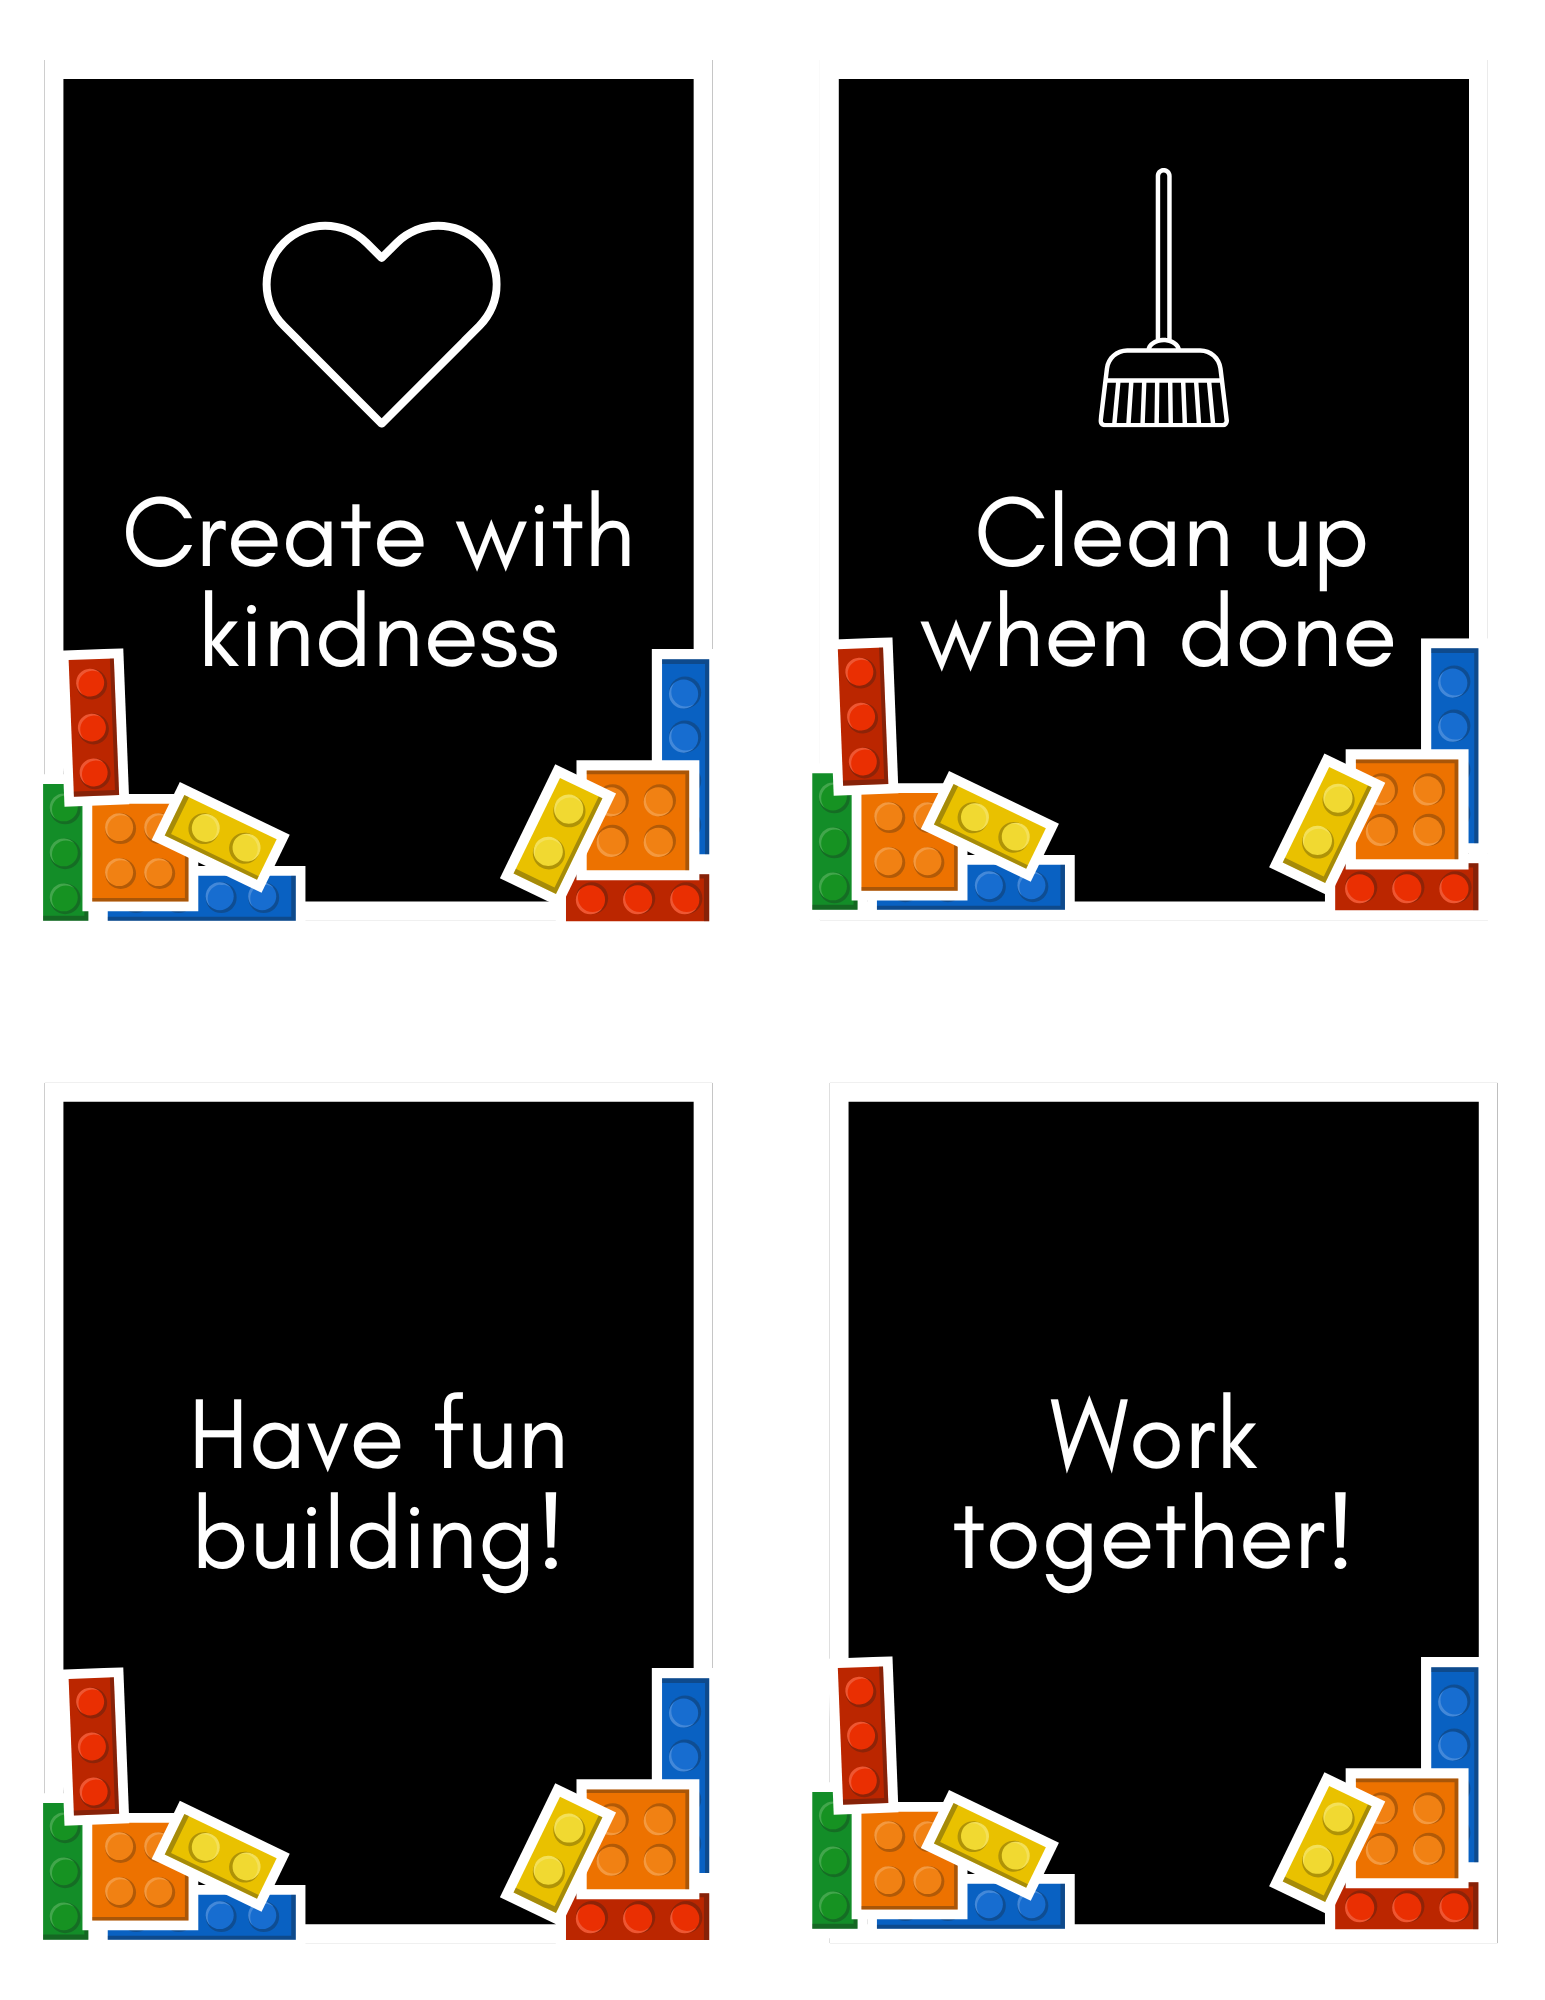
Have fun building!
Jenn


